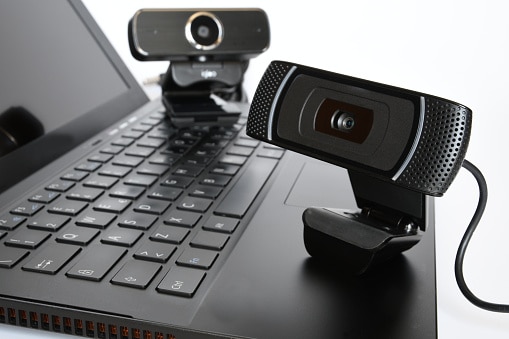
If you are wondering how you can connect a Webcam through USB with your HP laptop or if you are facing issues doing so? Then don’t look any further because this article will provide you with all the methods to resolve this issue.
A webcam is a great way to communicate, whether you want to talk to a loved one on Skype, go to a Zoom meeting, or connect with a friend. Generally, HP laptops come with an in-built USB driver which allows you to directly connect your Webcam using a USB cable. But there are times when your webcam won’t work properly. There can be many reasons behind this issue.
But don’t worry, in this article, we will show you how to connect your webcam using the USB cable and if it still doesn’t work then what all things can you do to solve the problem. So without any further delay let’s jump right into it.
Connection Issues With USB Webcam In HP Laptop
It is important that you should have hp webcam drivers pre-installed on your computer to avoid any sort of problems later on. Some webcams come with a disk that contains its drivers, others come with a plug-and-play feature.
It depends on the webcam that you are using. If in case, your computer doesn’t come with a webcam driver or if the drivers are outdated. Then, continue reading this post and it will help make your webcam work properly.
Connect The Webcam Using The Driver Disk
If the webcam that you are using comes with a disk then you should insert that disk into your computer to install the drivers. As soon as you insert the disk your Windows OS recognizes that you are trying to install the driver and it will start the process. All you need to do is to follow the on-screen instructions given on the Wizard window to complete the installation.
If the Wizard window does not appear, then you need to use the other method. To do so, follow the steps below:
Step1: Right-click on the Start button and select File Explorer from the list

Step2: Click on the This PC option present on the left-hand side panel on the file explorer window

Step3: Now you will see a new disk drive (Generally “E:”), click on that disk drive to start the installation process.

When the process is completed, Restart your computer and connect your USB webcam and check if it is working properly.
Connect Your Webcam Using Plug-N-Play Feature
Most modern webcams do not come with a driver disk. They have a feature called plug-n-play. As the name suggests, all you need to do is to plug the USB into your computer and the webcam will start working.
However, sometimes due to corrupted or outdated drivers, your Windows won’t be able to recognize the device. For this, you can update your imaging drivers and for that, you can either choose between the manual and automatic process. Below you will find both the processes elaborated.
Update Imaging Device Drivers Manually
To update your drivers manually you need to take the help of a Windows integrated utility known as the Device Manager. This tool allows you to update as well as reinstall all kinds of drivers present in your Windows PC.
This can be considered the safest way to update your drivers. However, this process is a bit technical and lengthy and if something goes wrong you can mess up your PC. Follow the steps given below to update your Imaging device driver using Device Manager:
Step1: Search Device Manager in the taskbar and then hit the Enter key

Step2: On the Device Manager window, click on the arrow next to the Imaging devices option to expand it
Step3: Now, right-click on the webcam device that you are using and select the Update driver option

Step4: Wait for a moment, then follow the on-screen instructions given by your computer
Step5: When the installation process is done, Restart your computer to implement the changes
Update Imaging Device Drivers Automatically
Now it’s time for the automatic process. In this process, It is the best free driver updater software. Then with a couple of clicks, these applications will always keep all of your drivers updated. These apps also provide you the option to update the drivers individually as well as togetherly.
Some of the programs also have the feature to backup the old drivers and restore them accordingly. Here are some of the best driver updater programs for your Windows PC:
- Quick Driver Updater
- Bit Driver Updater
- Ashampoo Driver Updater
- Driver Easy
- Driver Booster
Conclusion
We hope the different methods mentioned above have helped you connect your webcam through USB in your HP laptop. You should also consider keeping your Windows OS updated at all times. This will offer you better compatibility between the devices that you are using and your computer. If you have any suggestions related to this write-up then share them with us in the comment box.


